We love applying filters to our calendar and we hope you will too.
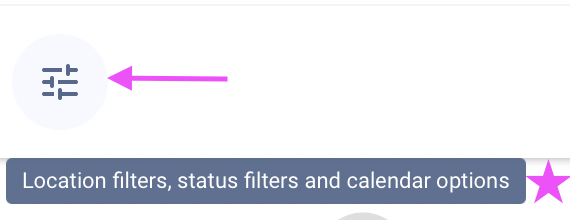
To Filter your calendar, navigate to the left side of the calendar menu, click on the 4-dot icon (refer to arrow), and select the Filters button.
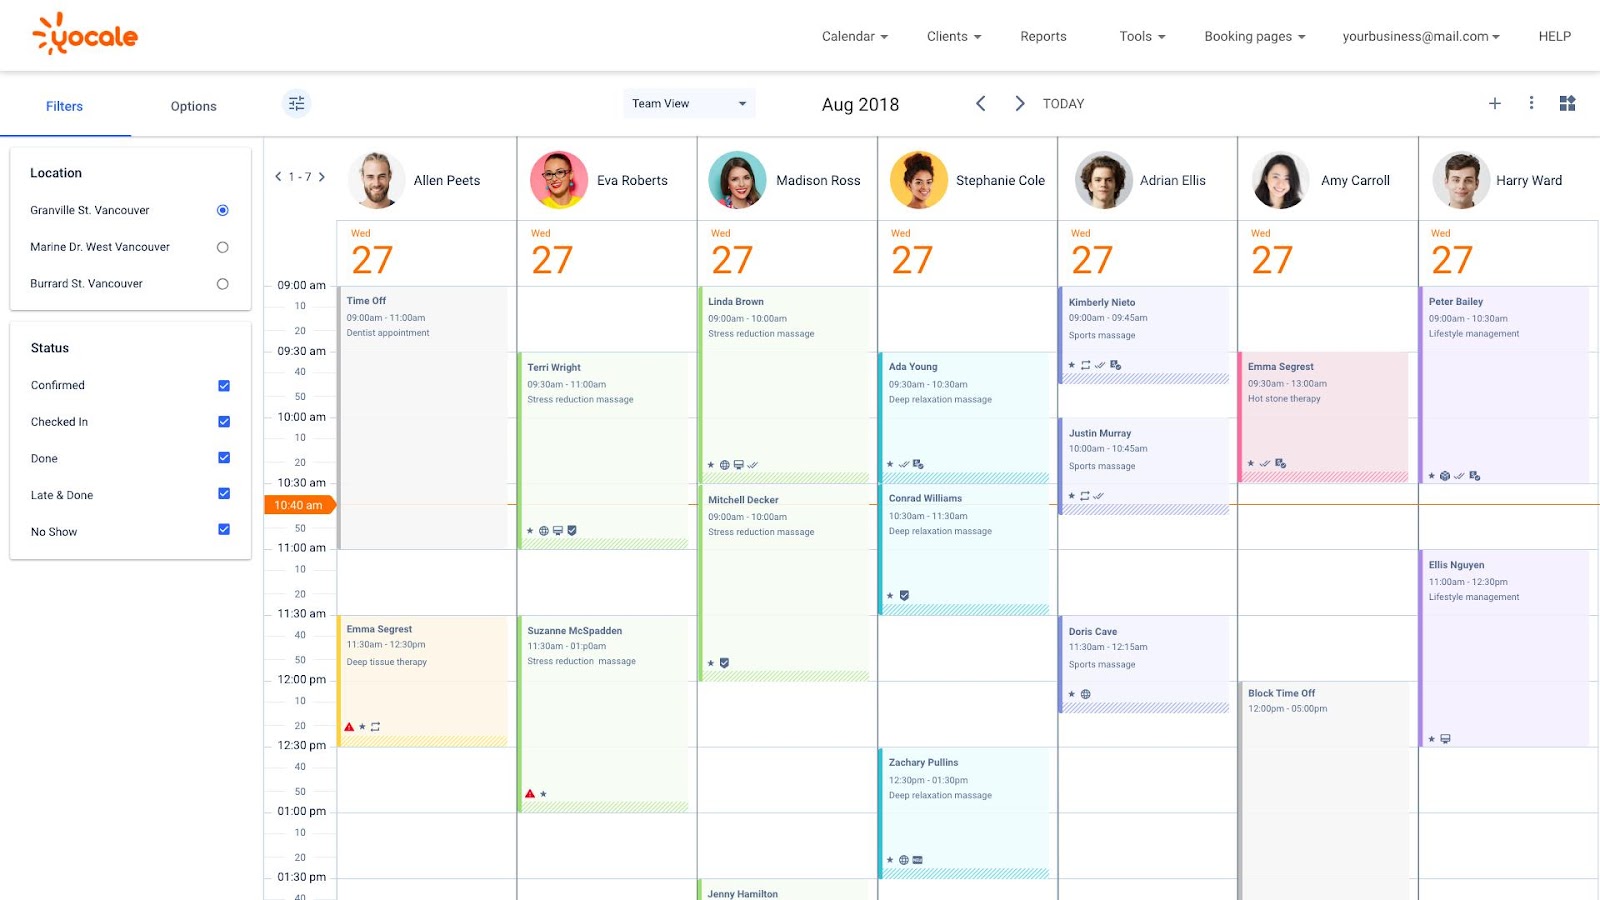
Let’s explore the power of this cute little icon on the left side of your calendar:
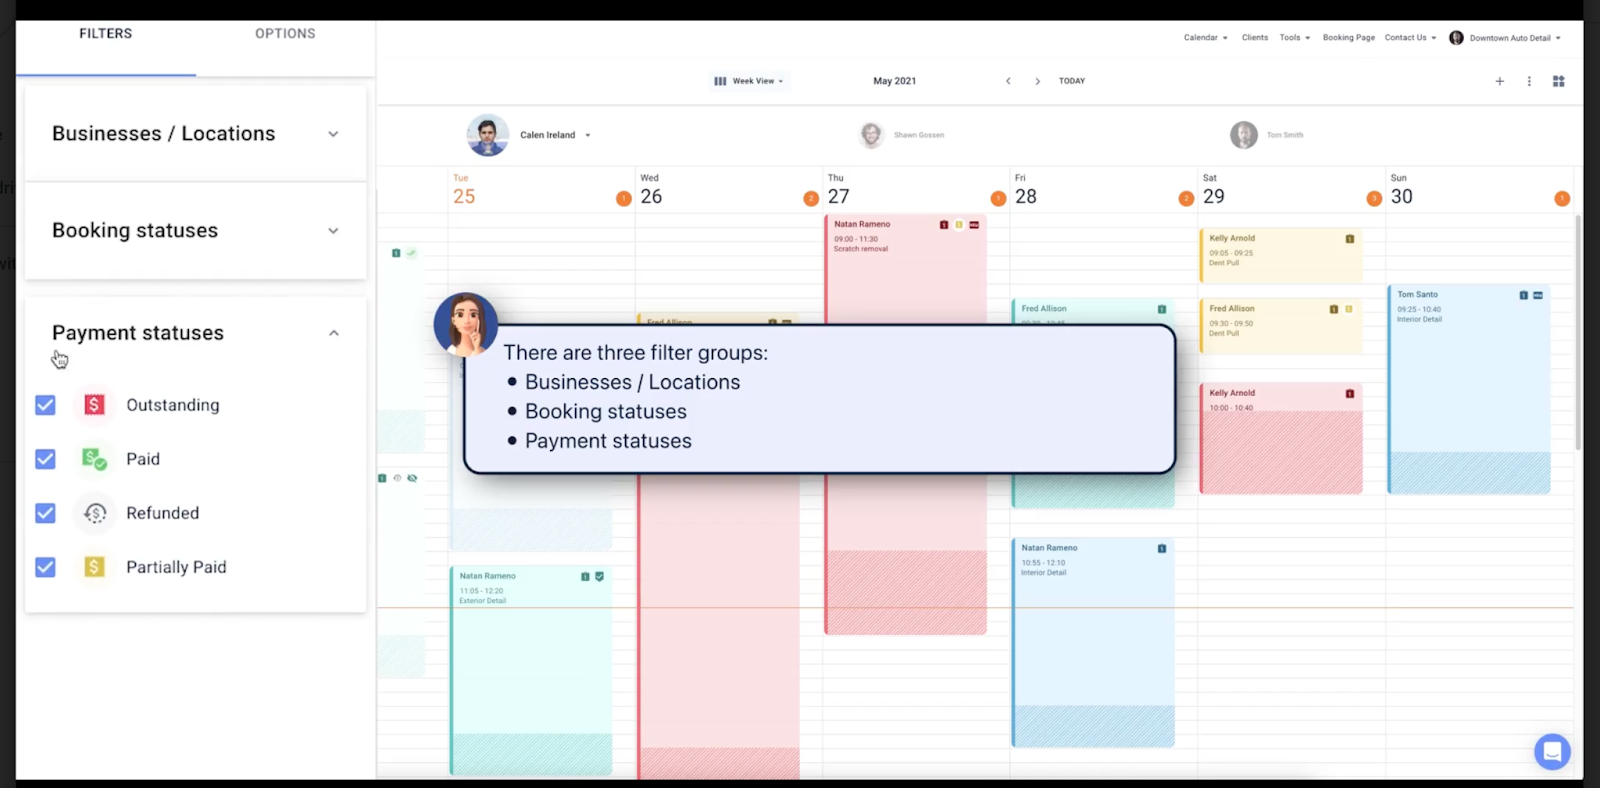
By clicking on the above icon, you will see “Filters” and “Options”. First, let’s explore the options under Filters. Here is where you can make changes related to your Locations (if you are a multi location business, this becomes highly useful) Booking status, and Payment Statuses. There are 3 filter groups:
- Business / Locations
- Booking Statuses
- Payment Statuses
🎥 There is so much you can do here so refer to our Video Guide for a short tutorial illustrating all the options available.
In more depth, you can filter your calendar based on:
- Locations – If you have a multi-location business, you have the opportunity to switch views in between locations. With one click, you can view every detail and activity for each business location. From your calendar, click on the 4 line icon as illustrated below. A new window will slide open where can select which location you want to view:

- Booking status – you can view these appointments based on their status: Confirmed, Done, No-Show, Check-in
- Payment Status- This is an accelerated pass to view which of your clients have outstanding balances, as an example.
Next, let’s explore the Options tab:
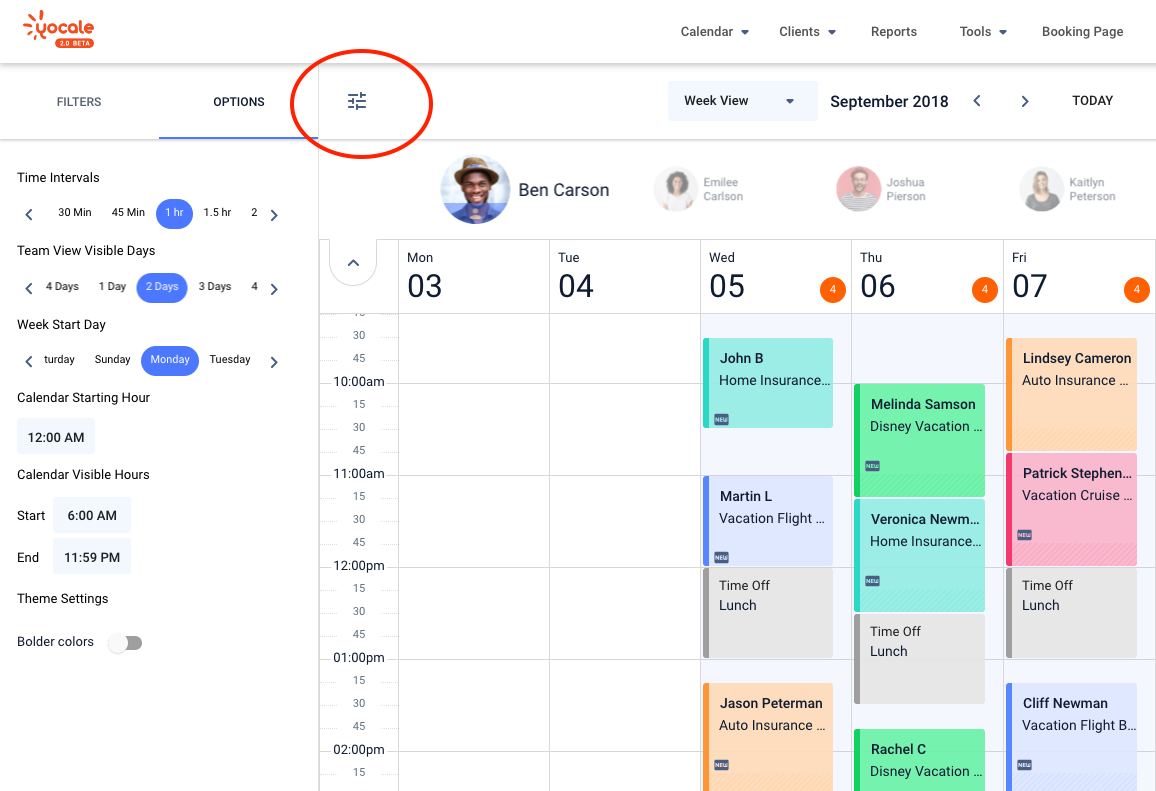
Here you can set the aesthetics of your calendar inter alia:
- Select the Time Interval to be either 30 mins or 15 mins. Note: Options- By default, the calendar is set to 1-hour space intervals and has a light font shading on the colors of the appointments.
- This will make the appointments to display bigger and the text to be larger
- At the bottom of the menu, tick the slider option to enable the appointment colors to be bolder with brighter colors

When enabled, the calendar will reload with larger font size and brighter colors. There is so much you can do here.
Refer to our 🎥 Video Guide for a step by step tutorial as we walk and talk you through all the options available.