Access the form template directly from your Business Tools -> Form Template.
🎥 Video Guide: When creating your forms with the Drag and Drop Form Builder, follow our step-by-step video to guide you.
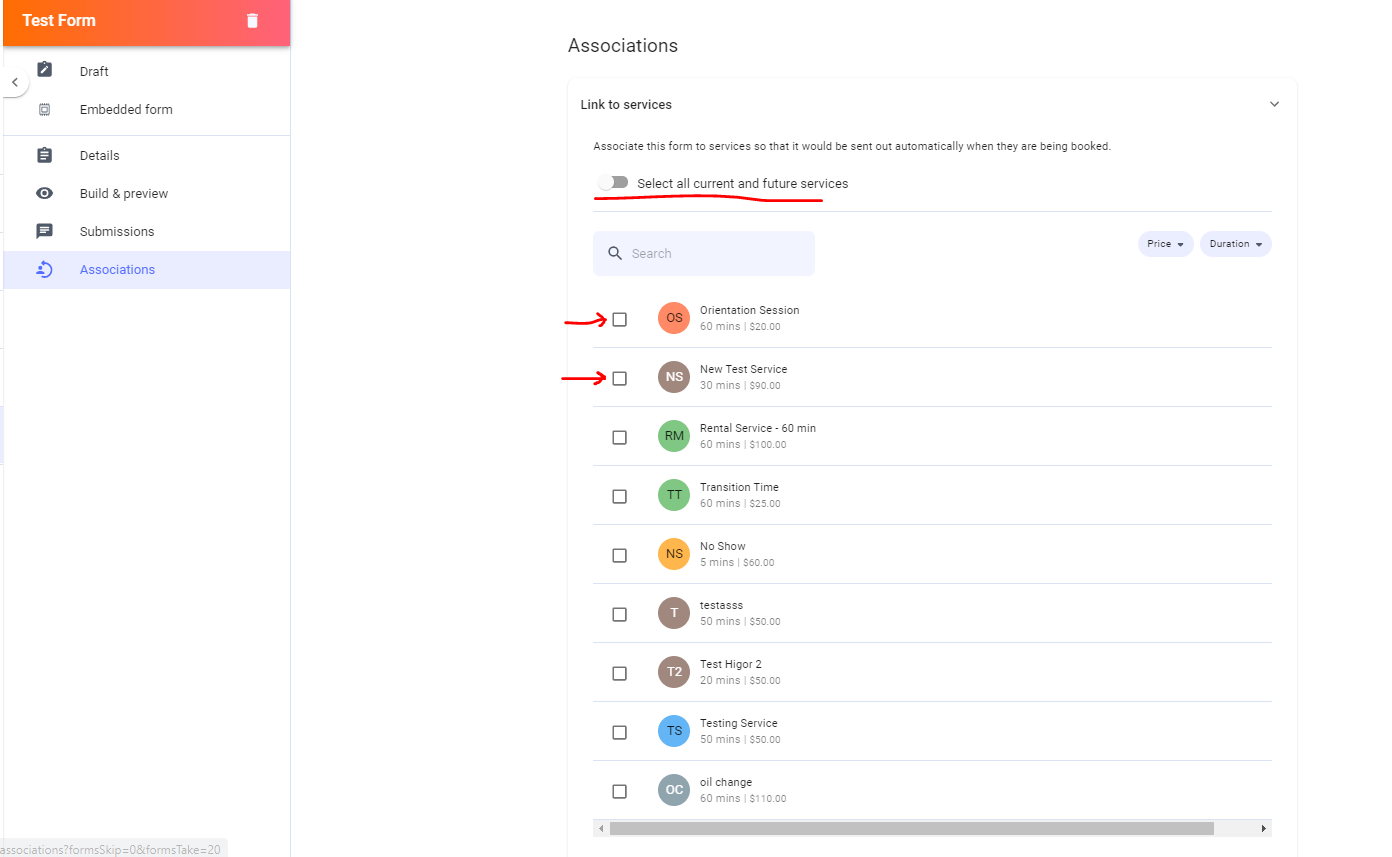
Associate form to a service
Following the above, you can associate a form with all relevant services directly from here. You can select all services or just specific ones:
Here, you can also change the form sending conditions including:
- When the form is required to be filled out
- Whether or not the form is required to be completed before the appointment is booked
- How many times the form needs to be filled out
After finalizing the form settings, click on the top right “Draft” and switch it to “Publish”. Yay! Your newly built form is now live!
💡Yocale Tip: Did you know? You do not need to associate a form with a service to benefit from the forms feature. You can create any type of form and send it manually for both internal and external use!
🎨 Color- Coded Annotations
Some things are better explained with visuales. Let’s experience a full visual journey around forms and annotations with the following video tutorial.
🎥 Video Tutorial: To summarize, this video starts off by accessing a Botox treatment form from the appointment window, then navigates through to options available within the form and submission portal. The video continues to display the Annotation features and the usability of it.
🏈 Practice Drill: Part I
Now that I got you here, let’s create a beauty consultation form together! Using the above video tutorial and these steps to guide you, let’s create your first form together:
- Access the form builder by navigating to Business Tools > Form Templates. Here you will have full access to manage your forms and submissions. Note: (Some users will have selected “Tools” > “Business Tools”)
- Click on “Add New Form” and enter the form name. You can enter categories, descriptions, and tags if needed. You can also mark the form as internal if you want this to not be sent to clients. You have the option to change settings.
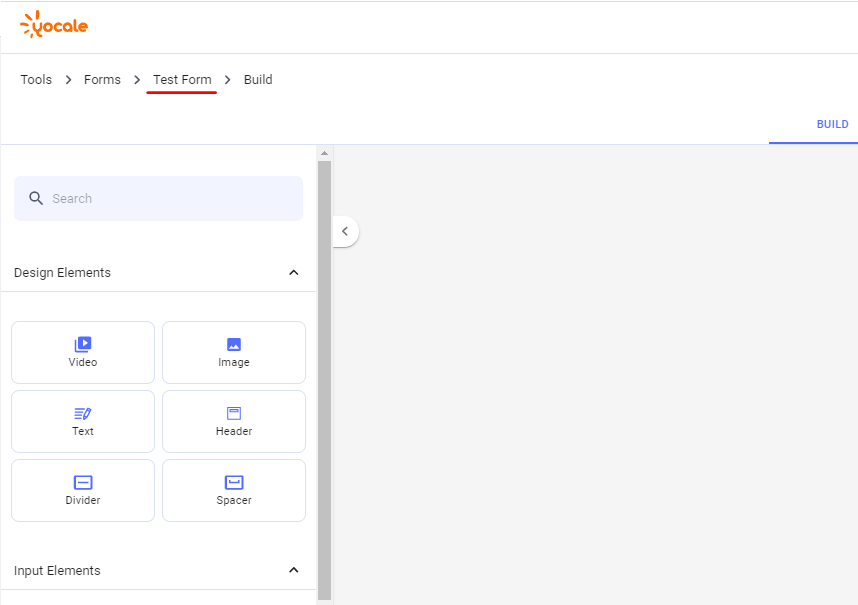
- Click on “Build & preview” and select whether you want the form to be attached (sent to clients’ emails, appears as a button on the widget) or embedded (sent to clients’ emails, displayed directly on the booking widget). Click on “Start Building”
- To begin building, drag and drop the elements on the left side onto the form
- Click on the element again to edit the element settings (appear on the right side). Each element has its own unique setting.
- You can change the size of the elements and or delete elements by clicking on it to edit these two options.
- After dragging and dropping various elements and editing the settings, you have completed building your form. You can now style the aesthetics of the form by clicking on the “Style” button at the top. From here, you can change the color of the form and the form divider. On the left-hand side, you can also change the form type from attached (Form opens in another web page) to embedded (Form opens in the same web page).
- Congratulations, after applying any styling options you have officially created your first form! Click on “Update Form Template” on the top right.
- Then click on the form name to go back to the Form Settings page. On the Form Settings page, you can now apply any final changes.
Was the first practice drill easy to implement? We hope so! Let’s pursue the last part of our practice drill for this task.
Upload Images and Use Color-coded Annotations
Did you know you can annotate on images and or documents that you have associated with a form? Basically, if you upload an image to a form, you can annotate it by adding notes, pinning items, and highlighting areas! Such sophisticated tools have evolved into a popular communication tool between interdisciplinary professionals. Let’s explore it!
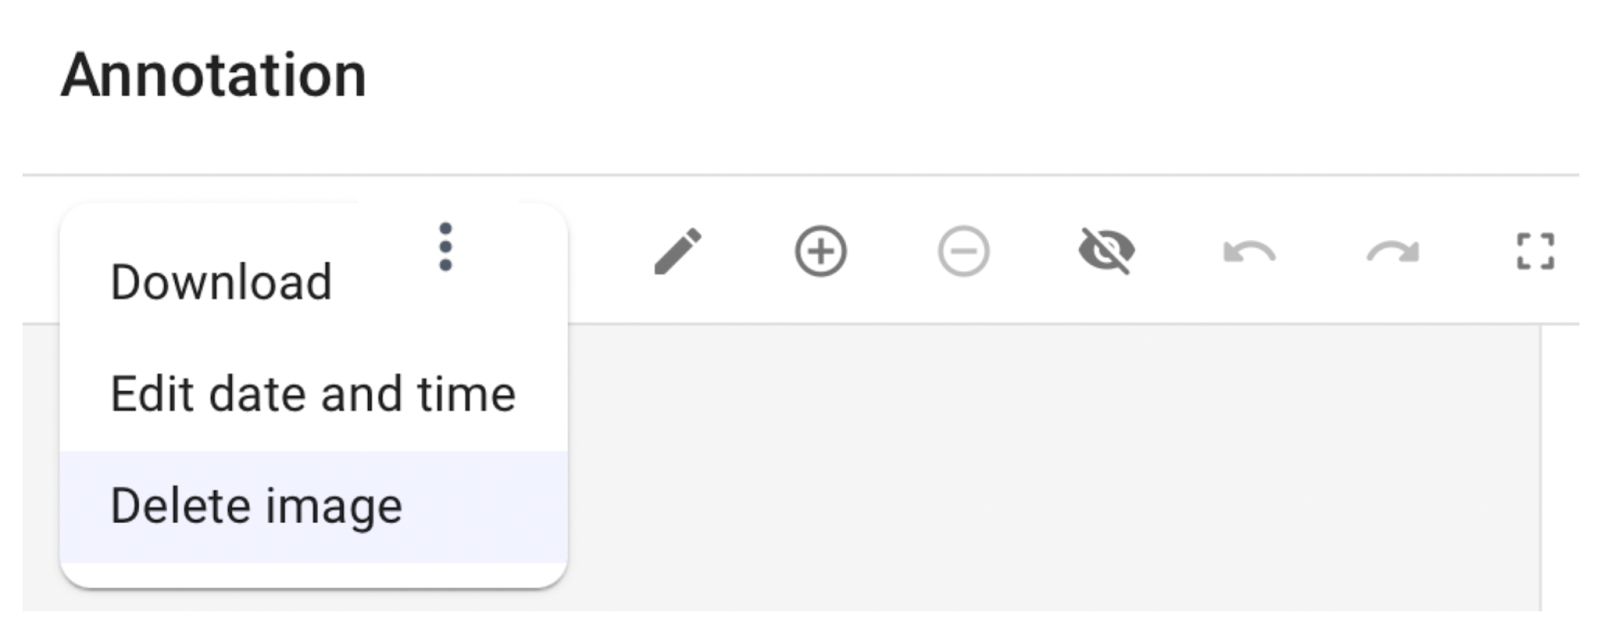
If you recall, in our previous practice drill, the video guide displayed how to upload an image while creating a form (either drag and drop an image or upload it from your files). As easy as it was to upload photos, it is as easy to remove them. In the area you built your forms, you will see the “Annotations” field and under it, you will see a 3-dot icon. Once you navigate on it, the following actions are available:
Here, you will as well see all the tools available to you for annotations! 🎥 Video Tip: See Annotations in action!
🏈 Practice Drill: Part II
- Associate a service you created with the form you just created.
- From your calendar, create a test appointment for yourself (using your email)
- An appointment should be created for the service you just associated the form with.
- Once the appointment is confirmed, check your email for the appointment confirmation
- Proceed with fulfilling the form directly from the confirmation email
- Once the form is fulfilled, navigate to your client profile on Yocale and view the new submission. Play around with all the options you have here like applying a status to the form including Pending, Draft, Completed, and Locked
💡Yocale Tip: Sometimes, it is nice to speak to a real person. Contact us to request a demo.
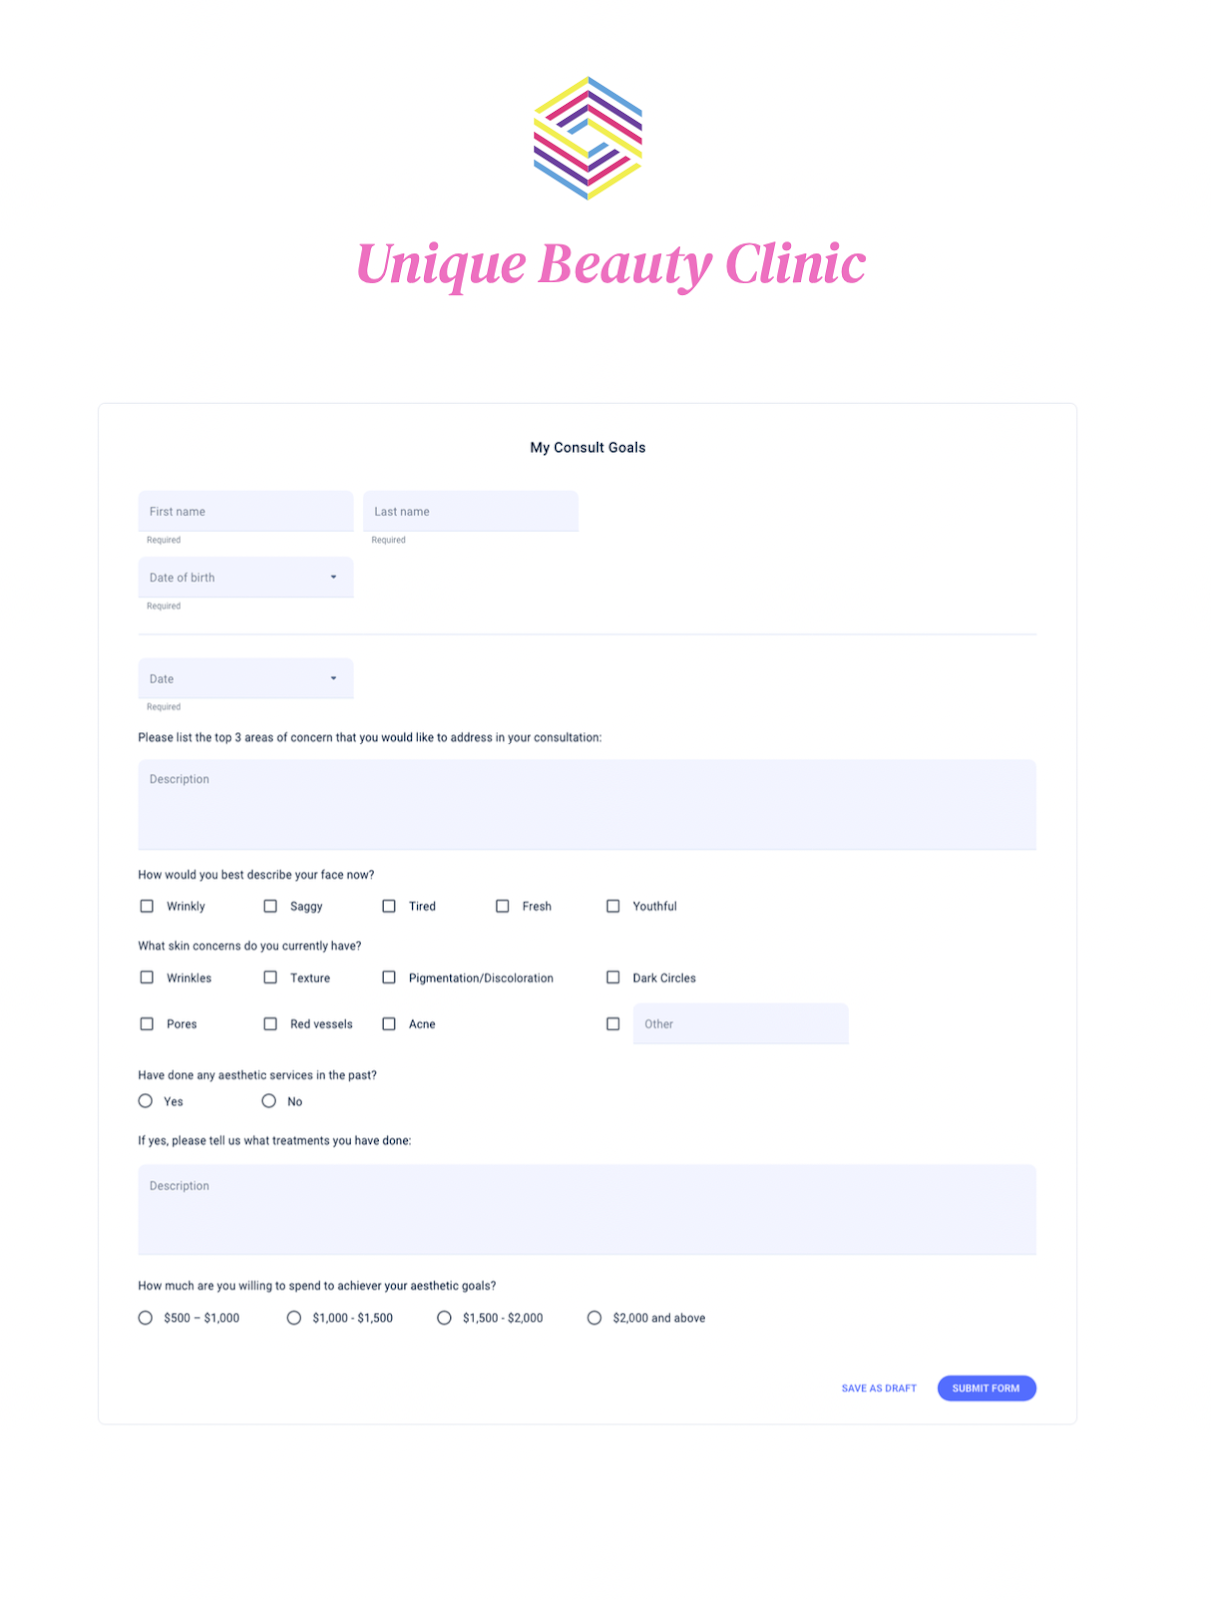
Mobile Client Consultation Form
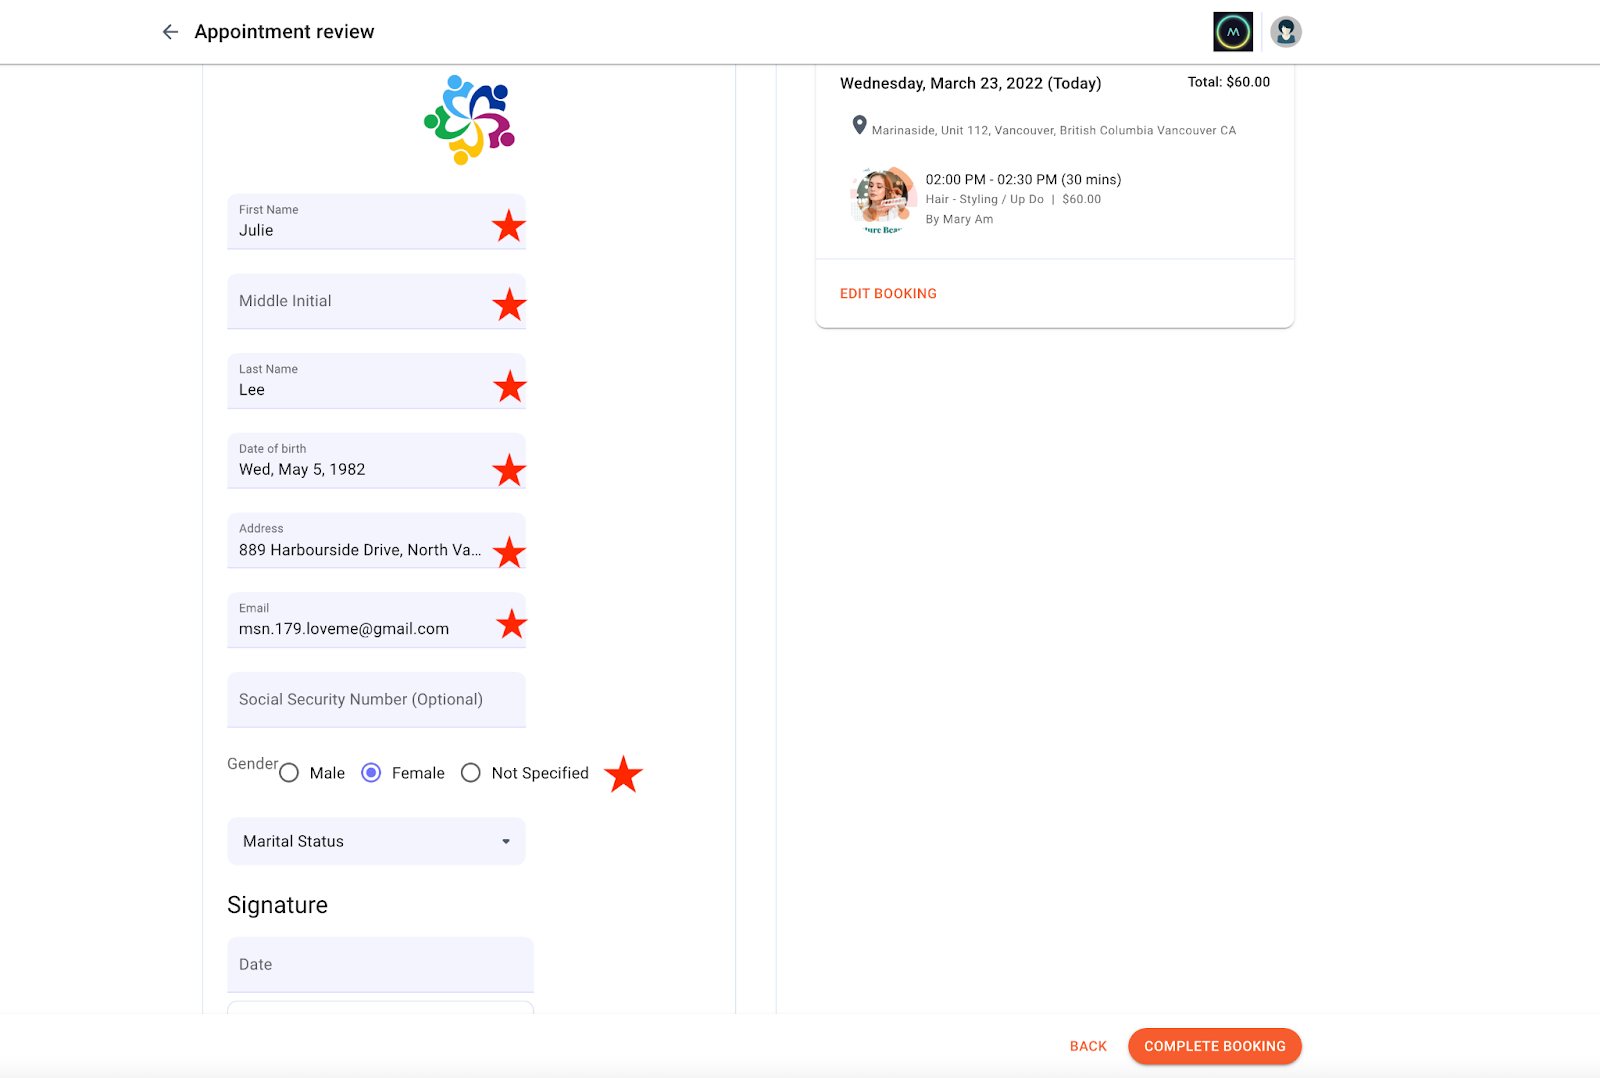
Thanks to technology, many salons and spas are going paperless and mobile consultation forms are a great entrance to do so. When a client books their appointment, they receive an email with the required form to be fulfilled (before their appointment.) Once completed, your business will automatically receive the completed form and it will get saved to the client’s digital file for future reference.
Here is an example of a simple consult form created in under 5 minutes (Tip: you can customize the aesthetics of your form and include your branding):
💡Did you know? If you have a client’s outdated address, their information (in their profile) will be automatically reflected with the updated details once they fulfill the form you’ve sent them. This reflects all the fields in the lookup elements (fields are outlined in the below image) and results in precision: