You can access the form builder by navigating to Business Tools> Form Templates.
Here you will have full access to manage forms and submissions. Note: (Some users will have to select “Tools” > “Business Tools”)
Before we dig deep into the form builder’s capabilities, I need you to watch this video tutorial on how to use the form builder.
🎥 Video Guide takes you on a step-by-step journey to creating your forms. Watch it now!
Using the above video tutorial and the following steps, let’s build your first form together.
After this session, we will discuss all the elements of the form builder in more detail.
- Click on “Add New Form” and enter the name you want to give the form. Note: You can mark any form as internal, say if you want to create an employee questionnaire form and distribute it to your staff.
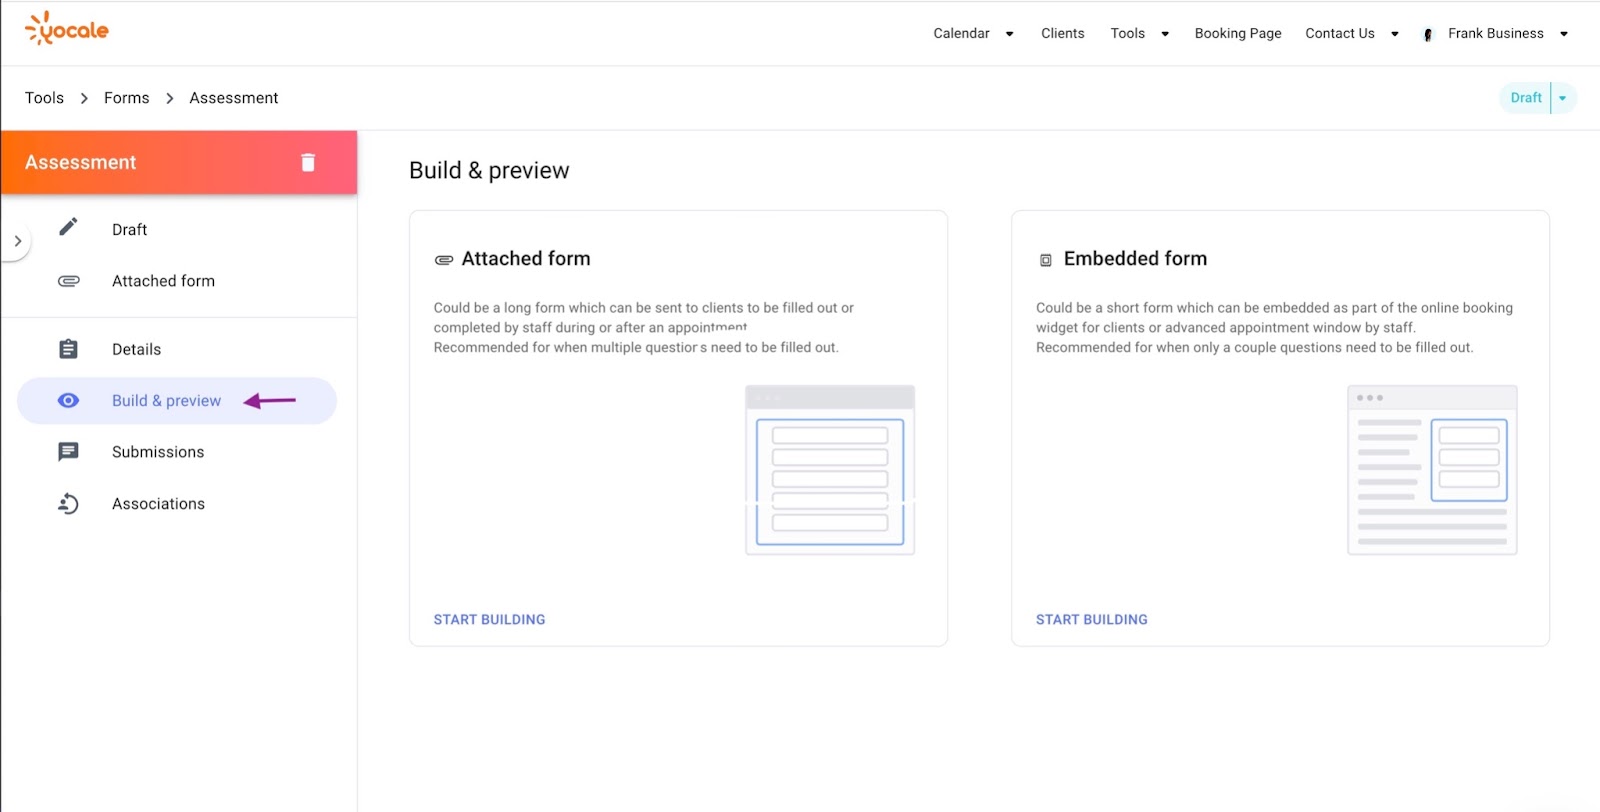
- Click on “Build & Preview” and select whether you want the form to be attached (sent to clients’ emails, appears as a button on the widget) or embedded (sent to client’s emails, displayed directly on the booking widget). Choose and click on “Start Building”. Don’t worry you can switch the format of your form within the form builder (under style which we will get to):
- To begin building, drag and drop the elements on the left side onto the form. Or you can just click on the elements for it to appear on your form!
- Click on the element again to edit the element settings (appear on the right side). Each element has its own unique setting.
- You can change the size of the elements and or delete elements by clicking on them to edit these two options.
- After dragging and dropping various elements and editing the settings, you have completed building your form. You can now style the aesthetics of the form by clicking on the “Style” button at the top. From here, you can change the color of the form and the form divider. On the left-hand side, you can also change the form type from attached (Form opens on another web page) to embedded (Form opens on the same web page).
- Congratulations, after applying any styling options you have officially created your first form! Click on “Update Form Template” on the top right.
- Then click on the form name to go back to the Form Settings page. On the Form Settings page, you can now apply any final changes. Note: In order for the form to be activated, the status needs to be “Published”. To have a form live for clients to fulfil, status needs to be published and associated with at least one service.
How does your form look and does the aesthetics of the form you created represent your branding? When creating your forms, you can as well upload photos and images to annotate on. We will discuss this in more detail within “Annotations” a little later in this chapter.
First, here is an example of a form that was created in less than 5 minutes:

Practice Drill 🏈
🏈 to complete our Practice Drill:
- Associate a service you created with the form you just created.
- From your calendar, create a test appointment for yourself (using your email)
- An appointment should be created for the service you just associated the form with.
- Once the appointment is confirmed, check your email for the appointment confirmation
- Proceed with fulfilling the form directly from the confirmation email
- Once the form is fulfilled, navigate to your client profile on Yocale and view the new submission. Play around with all the options you have here!
Yocale Tip: Sometimes, it is nice to speak to a real person. Contact us to request a demo.