To access the tailor-made Point of Sale system, you have two options:
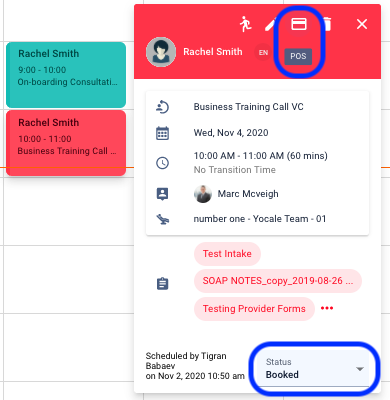
- Select an appointment you want to process an invoice for or make payment for > Go ahead and click on the POS card icon
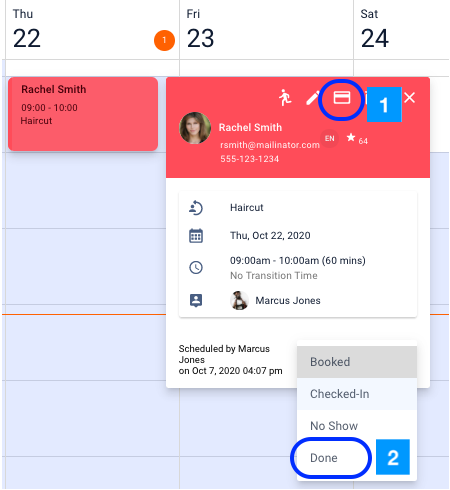
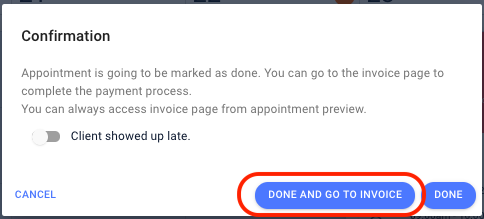
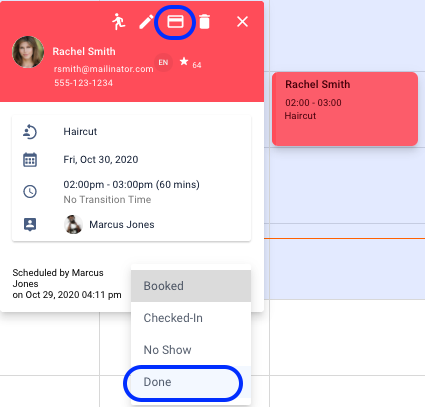
- Update the appointment status to Done > This will bring up a screen with the choice to mark the appointment as done and proceed to the appointment invoice
Did you land on your new POS? Great! Now, join me as I take you on a journey around its many capabilities. Keep in mind, The right side of the POS interface is where you can manage or edit the items and the invoice. the left side interface of the POS for adding items to an invoice (add-on services, upselling products, etc).
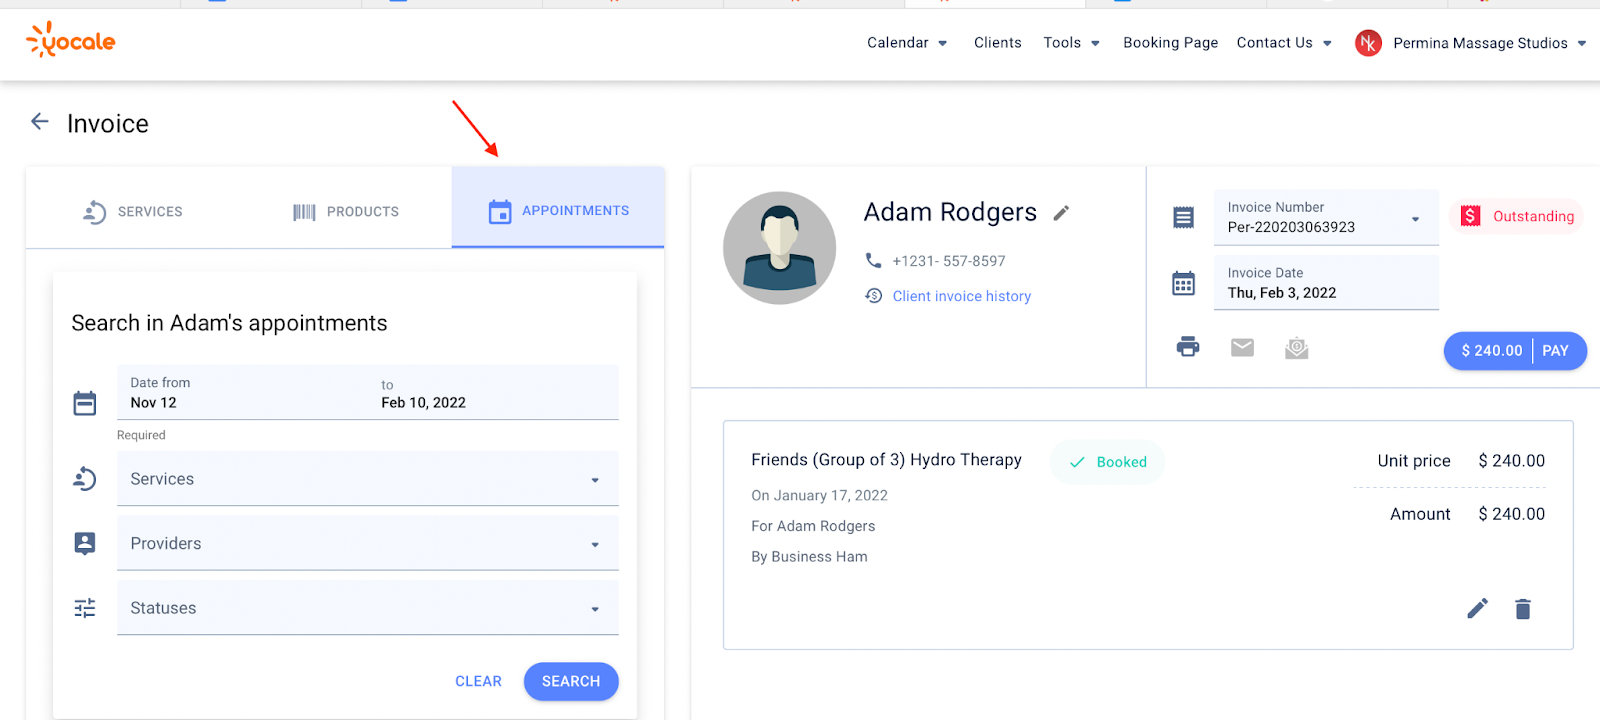
If the client has an unpaid balance for a previous service, simply drag and drop that service and include it in this checkout. Within the Appointments tap (refer to image), search for the client’s past appointments. Note, this is only valid with appointments that do not already have an invoice associated to it):
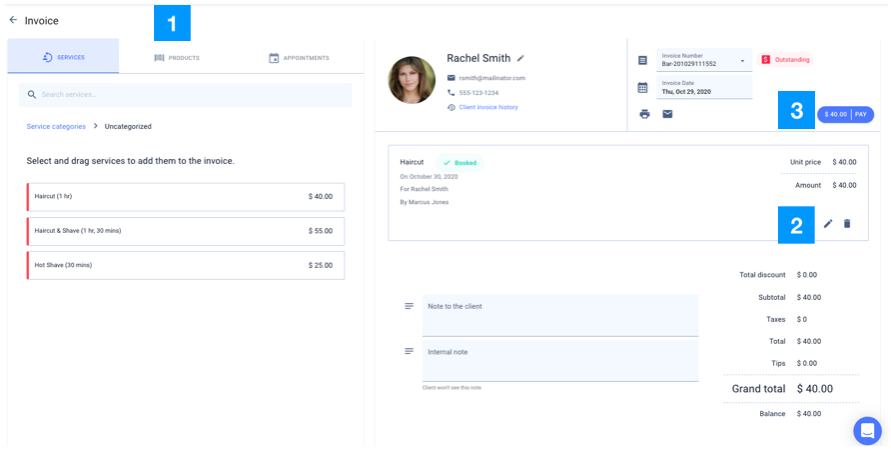
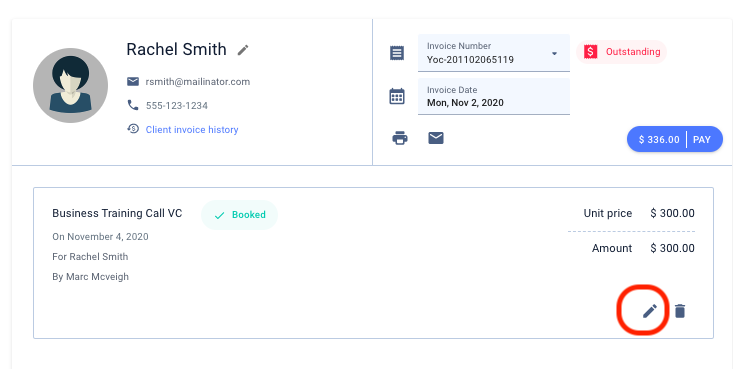
To familiarize yourself with your invoice interface, let’s review what each of these numbers represents:
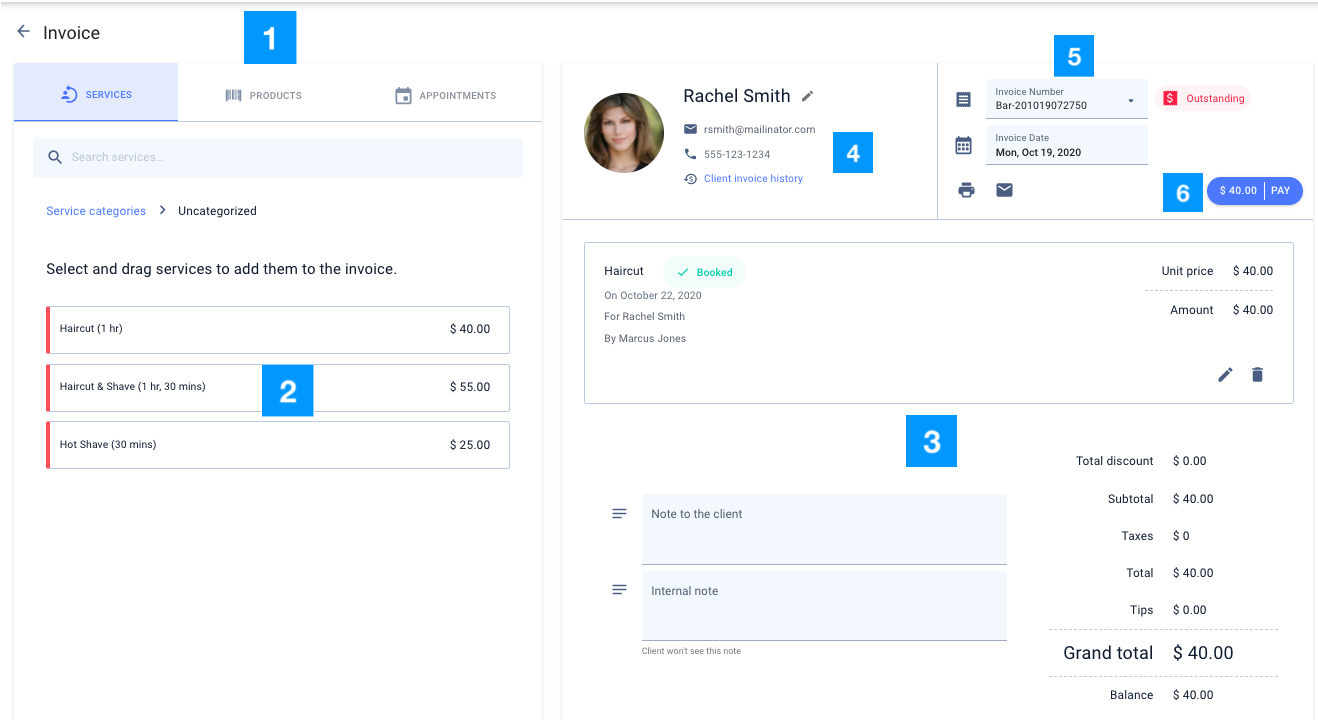
- The invoice interfaces
- To add items to the invoice, either select & drag the item to the right side or double click on the item to add the item to the invoice
- Select the edit/pencil icon to open the item editor where you can manage the quantity, price, add discounts or up-charges, adjust the taxes, as well as add internal or client-facing notes to the invoice.
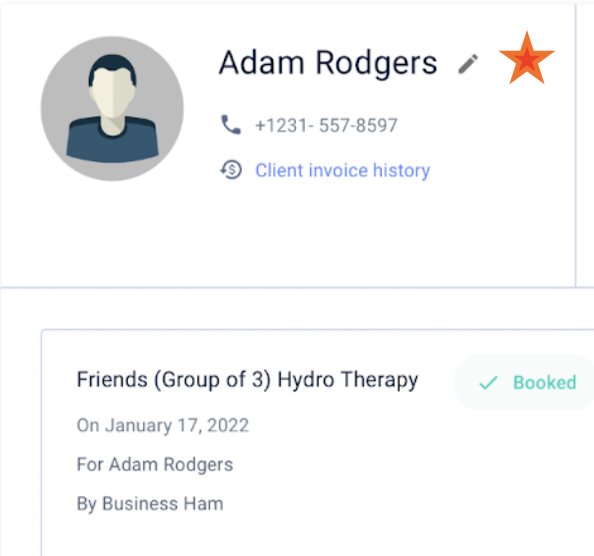
- View this clients’ invoice history as well as jump directly into the client’s profile.💡Yocale Tip: By using the pen icon besides the client’s name, you can as well edit the name on the invoice:
- Anything that you add, subtract, edit, or modify will create a new revision of the invoice. Please note: This does not apply to outstanding invoices. When multiple revisions are created, you can use the invoice number drop down to return to view previous revisions or jump ahead to view more recent revisions of the invoice. You can also update the posted date of the invoice or email and print the invoice.
- Payment Request – Apply the payment!
How to Apply Payments to Appointments
Learn how to process or track various payments to your client appointments. To access the Point of Sale and to apply a payment for a completed appointment, follow the steps below:
- From your Appointment Preview, either select the Invoice button or change the appointment status to Done
- You will be redirected to the invoice for that appointment where you can:
- Add additional services, products, or past appointments for this provider
- Edit or modify the existing items on the invoice (taxes, discounts, quantity, etc.)
- Proceed to Pay or track the payment for this appointment
Select the payment method you would like to track or process payment for:
- Cash
- Stripe
- Physical card terminal
- Other

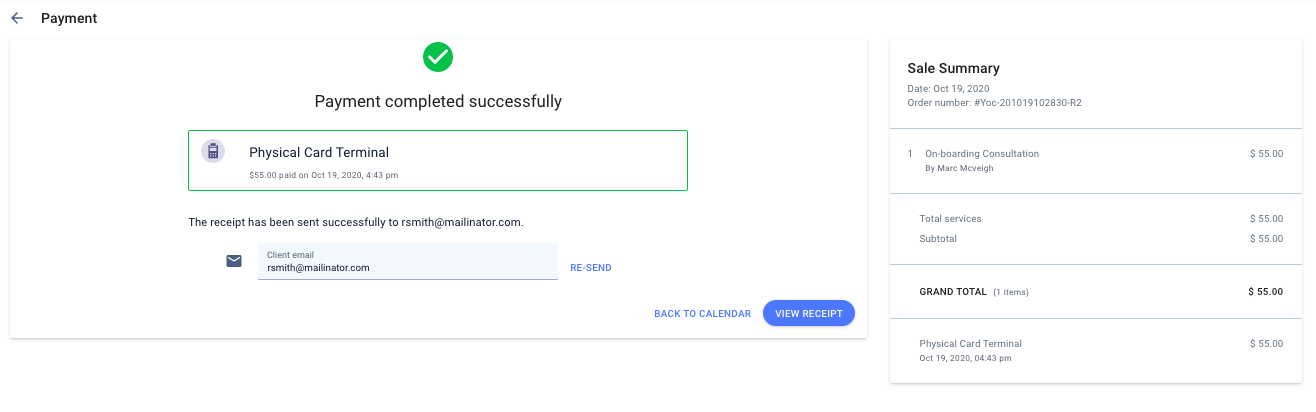
Once the payment is processed, you will be taken to a receipt page
A Practice Drill 🏈 You know what time it is! It’s time to test your knowledge and get that money, honey. Remember the previous test appointment you created and set up the 4 recurring appointments for? Click on it and mark it as “Done and go to invoice”. Once within the POS window, drag and drop an additional service from left to right. You should see the new service included in the invoice with an updated grand total. Click Pay, choose Cash, and Charge! In the pop-up window that appears, select the Tip % or enter a dollar amount in the “Custom Amount” field. Collect and view the invoice!
💡Tip: Make sure your invoice includes your logo for a personal touch!
Setup Online Payments
Secure future appointments and receive payments in advance towards a healthier cash flow and guarantee booked time slots. You can apply settings to:
- Receive Full payment
- Receive pre-deposits
- Save clients card on file
- No payment needed service (Free)
You can select the payment option that is right for you. Enable the feature from your Yocale Profile -> Tools -> Payment settings.
🎥 Here is a video demonstration displaying how to set up pre-deposit payments.
Edit (Tax and Tip) For Services & Products
By default, the taxes you enable in your settings will apply to all services & products that you charge within your business. To modify the taxes to your services or products ad-hoc, follow these steps:
- Click on the appointment and select the Mark as Done or select the POS option
- Click the “Done” option at the top left portion of the screen
- If you have your Taxes added already, they will automatically be applied to the service
- If you wish to not charge certain taxes for certain services, you can deselect those taxes to be applied.
- If you like to add a TIP, you can add this later in the POS workflow
Select the Edit icon for the line-item service or product you’d like to edit the taxes for:
- You can then enable or disable the taxes you’d like to charge for this product

Let’s pretend the amount the client needs to pay is $55. Select “Cash” as your payment option. Select “No Tips” and click on Charge to proceed:

Select the amount of cash received to determine the change to give and keep track of your business cash float.
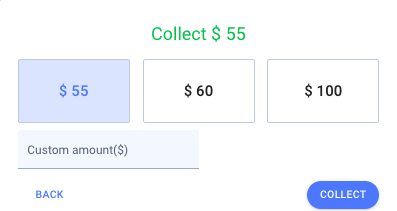
If change is needed, select if the change is returned to the client or kept as a tip to the business.

You can review to see the total amount and the charge of the taxes and tips before you mark the appointment as completed. When finished editing the applicable taxes > Select the Pay option to proceed with capturing the payment for this service or product.